Packaging Stained Glass Ornaments & Jewelry
Lucky Break?
I was no stranger to breakage during shipping when I first started selling my glasswork—in fact, the very first piece I ever sold fell victim to it. I’m forever grateful to the incredibly understanding Etsy customer who left me a glowing review despite the resulting inconvenience, and often think about how if her reaction had been the opposite, my glass career may have ended then and there.
Luckily, that early failure forced me to quickly figure out a dependable packing and shipping strategy. Several years later, I’m now on a several-hundred-order-long streak of zero breakage and often receive positive customer feedback on the quality and look of my packaging.
Prepare for the Worst
Since mail sorting facilities use conveyor belts and machinery to move packages through their systems, it’s not uncommon for orders to be aggressively manhandled (er, robothandled?) before arriving with the customer.
In fact, USPS recommends packages be able to withstand 10-foot drops as well as having other packages (weighing up to 25lb) land on top of them from this height (yikes!).
All the “Fragile!” stickers in the world won’t save a glass piece from the above nightmare scenario. Fortunately, there are 2 critical actions that if taken, I’ve found to virtually guarantee a package’s safety:
#1: Constrain Movement
The more glass is able to move around during shipping, the more likely it is to knock into something hard enough to break (that “something” could very well be the side of the box it’s packaged in). To mitigate this, pieces can be taped or tied down to a stationary surface.
In the case of the fused glass daisy earrings shown here (and all my jewelry pieces), I secure twist wire around their centers to keep them firmly in place. I then lay them in a small box sandwiched with extra padding and tie it shut with ribbon. This creates a highly constricted environment that allows for very little movement.
A pair of earrings constrained to their backer with twist wire
The backside of a pair of earrings constrained to their backer with twist wire
A small glass-containing box tied tightly shut with ribbon
Ornament-sized pieces and even small panels can be tied down and boxed in a similar manner, but obviously require a larger backing card and longer/thicker twist wires.
#2: Add 1-2 Cubic Inches of Padding
Strategically-placed padding acts as a shock absorber when a package is dropped or hit, shielding the delicate glass inside from the brunt of the force. To maximize its protection, it should completely surround the piece in a layer at least 1-2” thick. I’ve found shredded paper and packing peanuts to be the most reliable sources of cushioning for glass.
The cardboard boxes I use to pack my pieces are ~2” larger in each direction than the small jewelry boxes I place inside them. This enables me to pack a thick wall of crinkle paper underneath and around each side of the jewelry boxes. I then place a folded sheet of bubble wrap on the very top so the jewelry box has 360° protection, but the customer doesn’t have to dig it out.
The large box set I use to package stained glass ornaments (left), next to the small box set I use to package fused glass jewelry (right)
A small jewelry box containing a glass order nested tightly into crinkle paper within a larger cardboard box
The same padding principle can be applied to larger pieces, but the thickness of the padding should increase in proportion to the size of the piece. For instance, I cushion my ~12x12” panels with a padding layer 3-5” thick.
*Cautionary Note: depending on the carrier, shipping insurance may not apply to glass, and that fact may not be explicitly stated when purchasing the insurance! Pirate Ship (my shipping coordinator of choice) offers package insurance with no warning that glass isn’t covered, but if you check the fine print, it clearly states that stained glass is excluded from coverage (so sneaky)! For a while I was purchasing insurance on every once of my orders, completely oblivious to the fact that any had broken I wouldn’t have been able to file a claim.
Pack It Pretty
It’s totally possible to cobble together perfectly safe packaging with boxes and cushion salvaged from Amazon orders. However, receiving a hodgepodge of mix-and-match packing scrap doesn’t exactly inspire customers with the confidence and trust they need to become loyal, return buyers.
To keep things looking professional, I opt to use a standard set of materials when packing orders:
Twist wire
Branded earring holder (or necklace holder, or ornament backer, etc.)
Bubble wrap
Pre-padded jewelry box
Branded business & thank you cards
Small hole puncher
Branded packing tape
“Handle With Care” stickers
Sponge
Corrugated cardboard box
Crinkle paper
The materials I use to package small stained glass and jewelry pieces
Video Demo
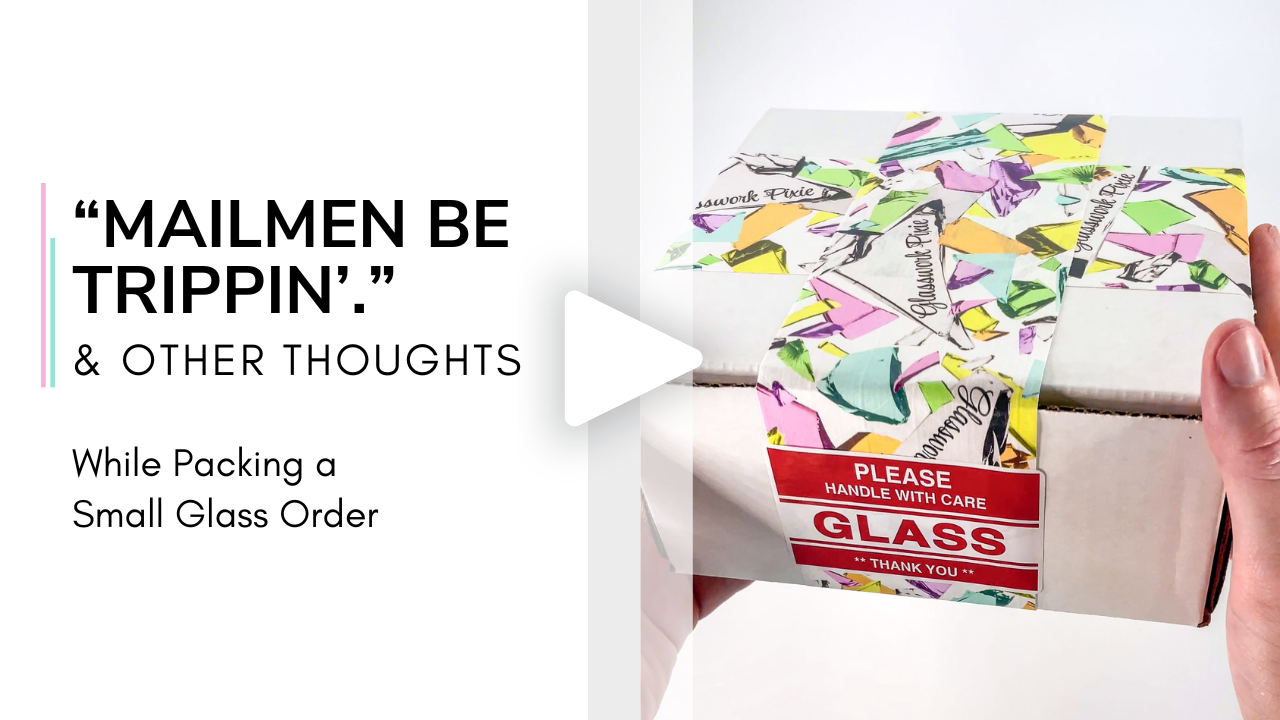
The following video demonstrates how I utilize these materials to package a fused glass jewelry order.
Watch how I package a pair of fused glass daisy earrings!
Related Thoughts
A friendly reminder that I share details of my creation processes with the intent of empowering people with knowledge and techniques that may help them reach their full creative potential, not with the intent of enabling other artists to recreate my pieces. All of my designs are protected by copyright and are illegal to reproduce, reuse, or republish without my permission under any circumstances.
