
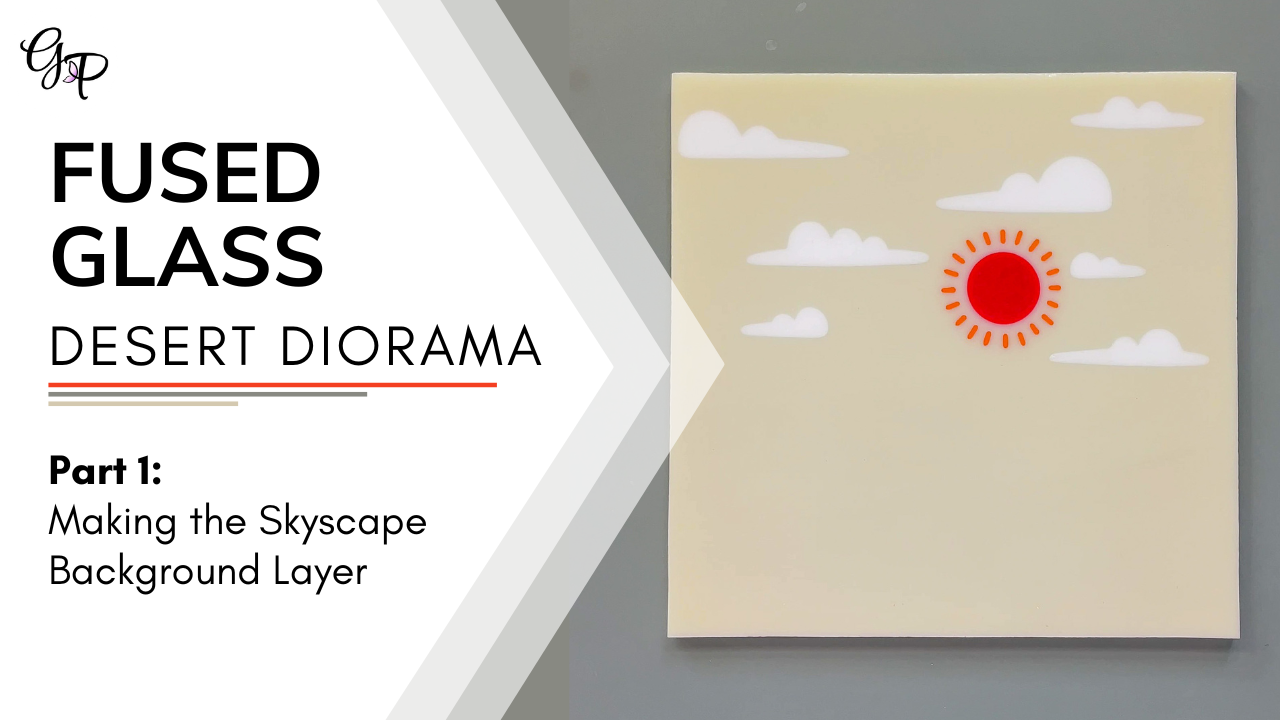
Creating a Fused Glass Desert Diorama, Pt. 2
This is the second part of a multi-stage project. Start at Part 1 if you’d like to understand the full creation of this piece from start to finish!
The completed background layer created in Part 1 with the pattern of the midground layer placed on top
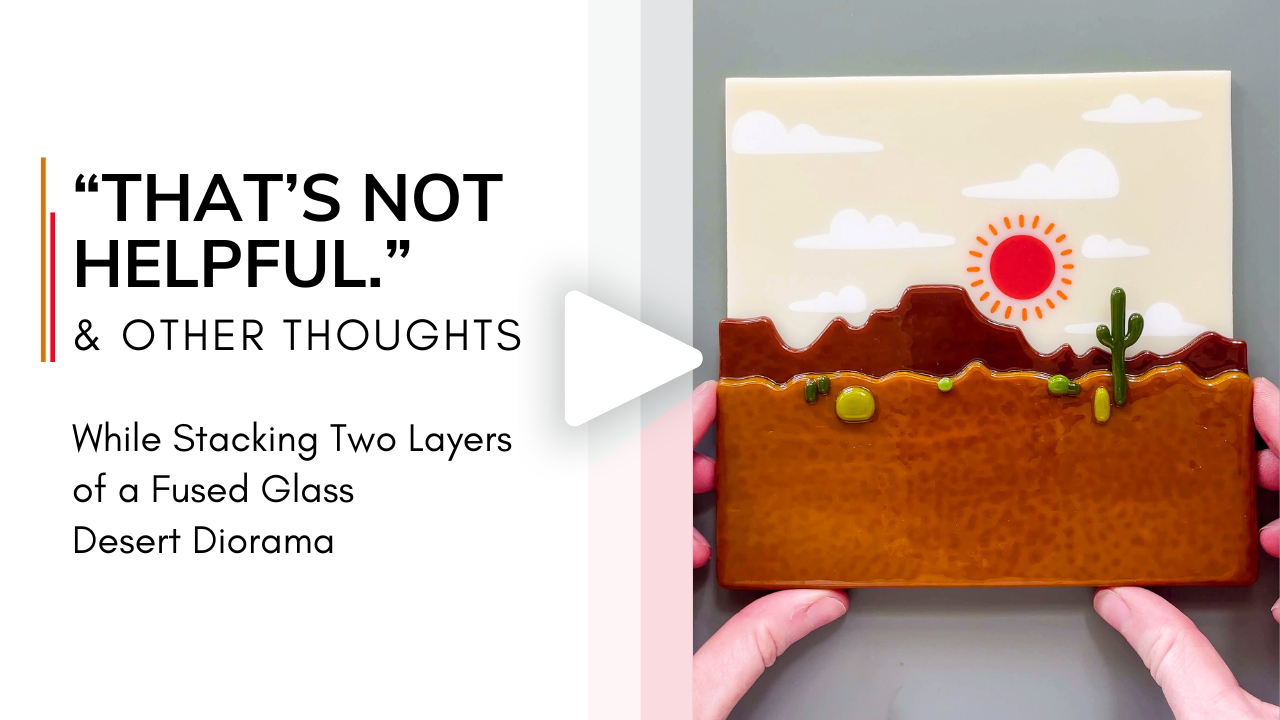
Building the Midground Layer
Controlling For Bubbles
The midground layer of this piece actually consists of two glass layers fused into one: a dark brown piece depicting a mountain range in the distance, and a light brown piece depicting midland between the mountains and the viewer.
The dark brown mountain range, made up of three segments of glass to prevent trapping air mid-fuse
The light brown midland segment placed on top of the mountain range segments
Although visually there’s no reason that the dark brown mountainscape can’t just be a single piece, the cuts dividing it into three serve a very important function.
As glass melts within a kiln, its perimeter tends to soften first since it’s closest to the heating coils along the sides of the kiln.
So in this case, the outer edges of the light brown piece will melt down on to the dark brown piece first, potentially leaving air trapped in the center between the two pieces. The cuts in the dark brown piece provide a route for the air to escape by to prevent it from forming a bubble, which would likely create a protruding bump that would be visible in the light brown piece post-firing.
I set these pieces aside for the moment without firing them, and proceeded to build tiny cacti to sprinkle across the landscape.
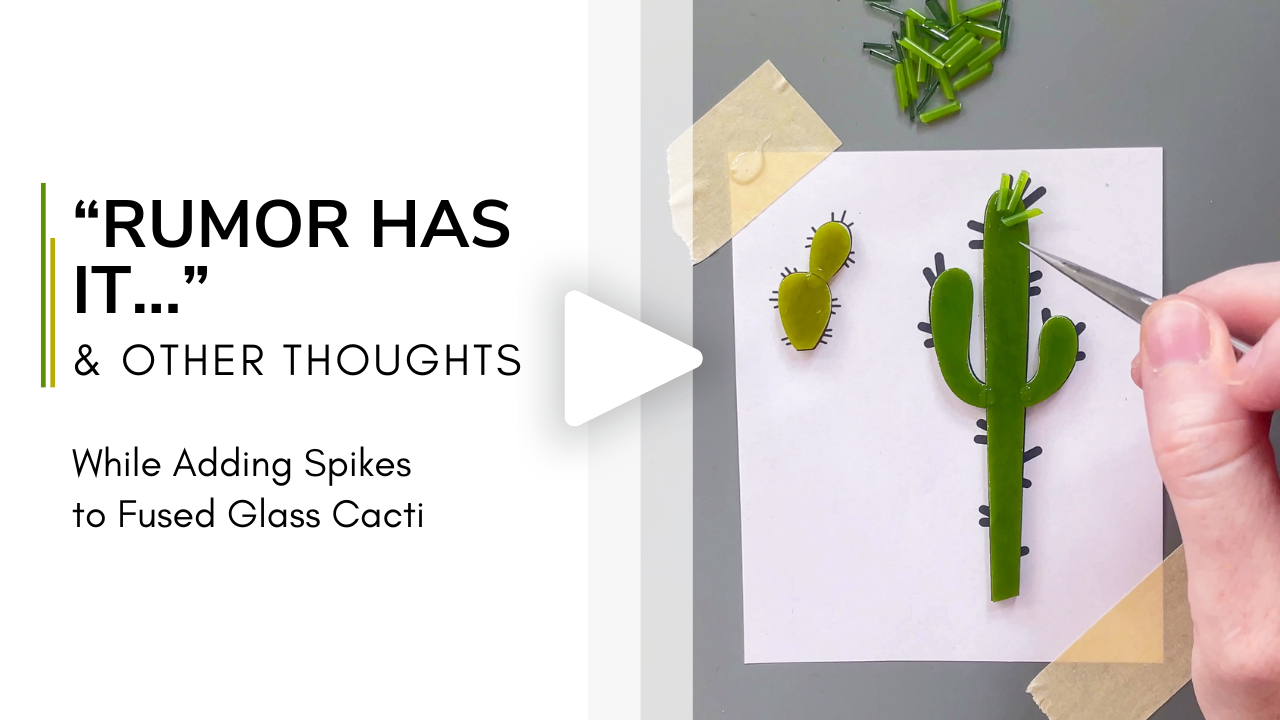
Maintaining Cacti Posture
Cacti backsides, pre-firing; some made by stacking multiple layers of glass
Cacti backsides, pre-firing, as viewed at an angle
Cacti backsides, post-tack-firing
I wanted the Saguaro cactus to be taller than its dark brown mountain backdrop, but to remain straight so that it would realistically stand in front of the mountains instead of melting into them. To accomplish this, I needed to ensure that the portion of the cactus overhanging the land layers was supported so that it remained straight throughout the fuse.
I decided to create a support structure out of stacked glass, with the idea being that when heated to a light contour fuse, the bottom layers of the cactus would keep the top layer supported without melting enough to droop into one another or flattening out and becoming visible from the front. Unfortunately, I overlooked the fact that there was a MUCH simpler, cleaner, and all-round better way to go about this, as will be described shortly.
The Saguaro cactus pulled slightly away from the landscape in order to show its stacked layer structure
The Saguaro cactus placed against the landscape in the position it will be fired in
You can tell by the rough edges of the third cacti layer in the photos here that it was glued on after the first two had already been tack fused together because apparently, I can’t count.
I tack fused all the cacti before gluing them to the land in order to minimize chances that any of the layers would slide apart while fusing to the ones beneath.
The midground layer with all cacti glued in place, pre-contour-firing
The two other smaller cacti I’d also built with stacked layers ended up being too tiny to balance nicely on the edge even with their added supports, so I ended up grinding off their extra layers and gluing them in place slightly lower than my original pattern called for.
Once the cacti were in place, I fired the entire piece to a contour fuse.
Note that this contour fuse was much less intense than the full fuse I’d used to fire the background sky layer, because I wanted each layer to retain progressively more texture as they neared the viewer’s eye.
The result of my initial attempt at contour firing the midground layer
If you’re an experienced fuser, you probably saw this tragedy coming.
The stacked layers of the Saguaro cactus didn’t stay straight as I intended, but instead slid off of each other as they melted, causing the cactus to lean to the right.
Although sort of pleasantly Dalí-esque, this wasn’t quite the look I was going for.
The Saguaro cactus fused askew due to its stacked glass structure
The stacked glass layers that shifted as they melted, resulting in the topmost ones twisting to the right of the bottommost one
I was frustrated to have to completely redo this layer, but it was a valuable learning opportunity to observe how thinly-shaped glass behaves when fused in a stacked manner.
Swapping Supports
Upon removing my sadly warped scene from the kiln, I immediately knew what I should have used to support the cactus in the first place: fiber paper!
Saguaro cactus partially supported by glass and fiber paper, pre-firing
Fiber paper is a heat-resistant material made from tightly woven alumina-silica threads that will not stick to glass or kiln shelves.
Two of the most convenient aspects of fiber paper are that it comes in several different thicknesses, from paper-thin up to 1/4”, and it can be easily cut and stacked to achieve any shape or height required.
In this case, two layers of 1/8” paper laid the perfect foundation to keep my cactus straight.
Saguaro cactus partially supported by glass fiber paper, pre-firing, as viewed at an angle
Second midground layer attempt set up within the kiln
Though it’s incredibly useful, it’s important to note that fiber paper leaves a noticeable texture on the surface of glass after firing (see the backside of the Saguaro cactus in the photo below).
Since I didn’t want this texture to be visible anywhere on the finished piece, I kept the fiber paper from touching the glass’s front surfaces by:
Using a bit of glass to support the very small area between the dark brown mountain range and the cactus body
Leaving a tiny gap between the fiber paper and the edge of the mountain range
Backside of the fused Saguaro cactus showing residual texture from the fiber paper it rested upon
Achieving Depth
The fiber paper support technique showed vastly improved results compared to my first attempt. In this version, the top half of the Saguaro cactus floats above the landscape behind it, creating the perspective-building layers I hoped for.
Second midground layer attempt, post-contour-firing
Successful second attempt at the Saguaro cactus firing, resulting in it appearing offset from the landscape underneath
When the midground layer is placed against the background layer created earlier, the depth of this piece really starts to shine!
This is an encouraging indication that after the foreground layer is created along with additional spacer-induced depth, my three-dimensional diorama concept will successfully be brought to fruition.
The completed midground layer atop the background layer, giving an indication as to the visual depth that will be created in the final project
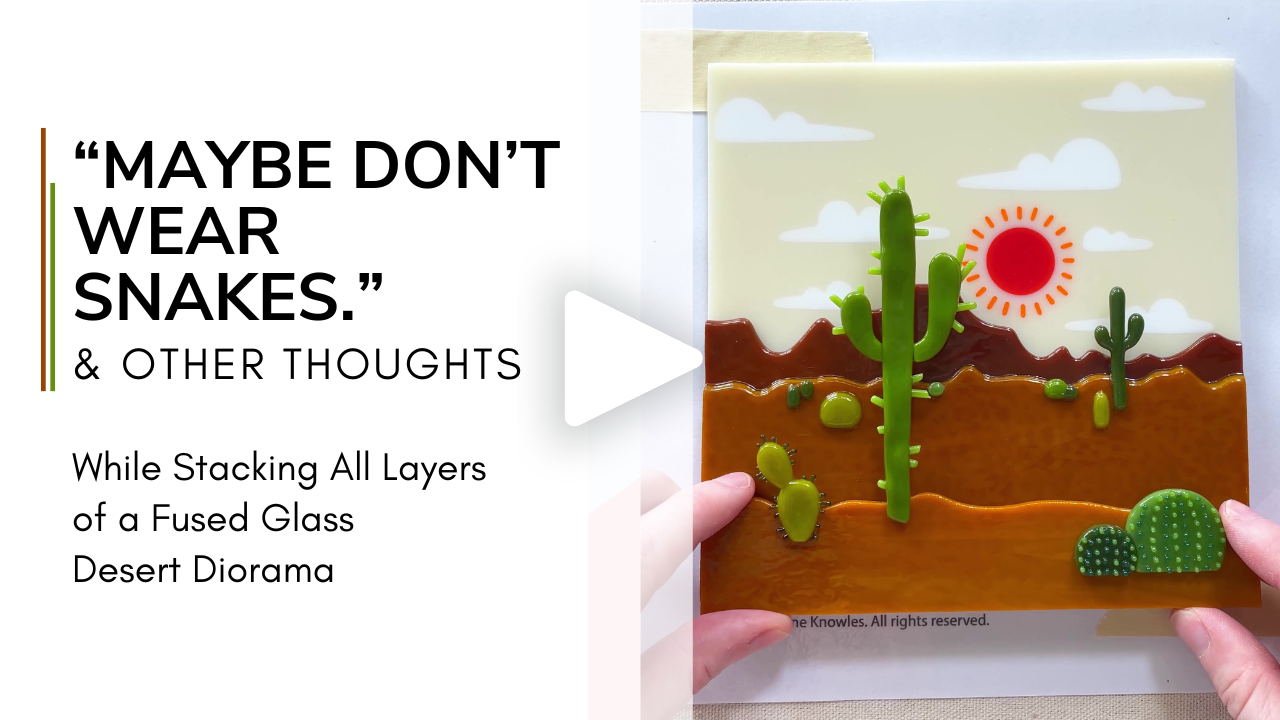
Video Recap
Watch a quick overview of this desert diorama layer’s creation process!
Related Studio Journal Entries


Related Thoughts

A friendly reminder that I share details of my creation processes with the intent of empowering people with knowledge and techniques that may help them reach their full creative potential, not with the intent of enabling other artists to recreate my pieces. All of my designs are protected by copyright and are illegal to reproduce, reuse, or republish without my permission under any circumstances.